Features
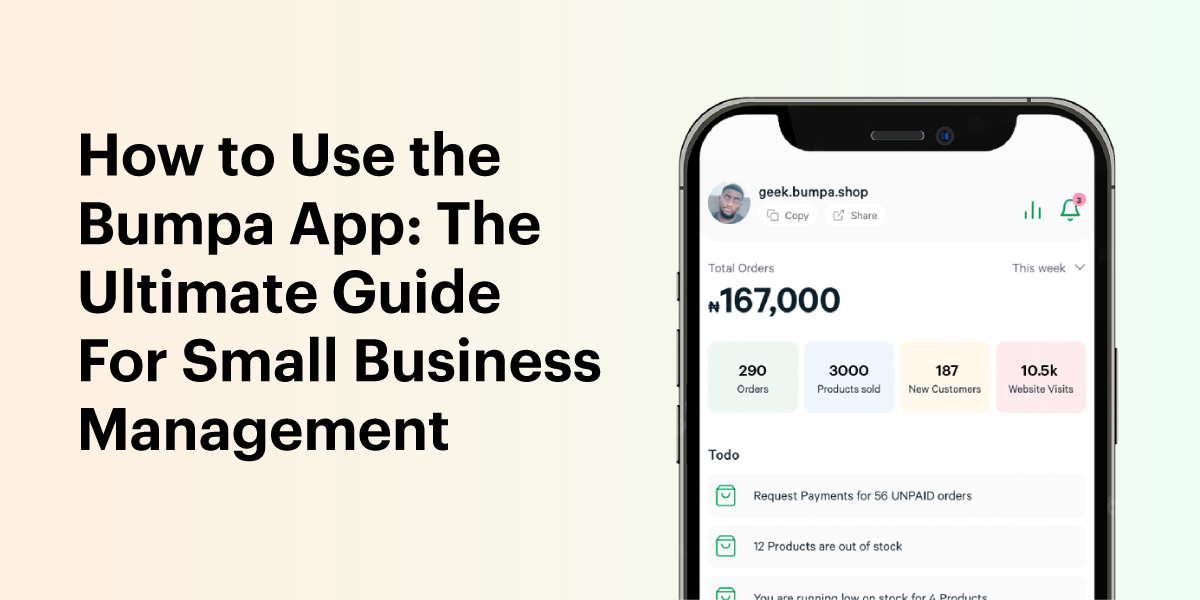
How to Use the Bumpa App: The Ultimate Guide For Small Business Management
Features

Your entrepreneurial journey can be easier!
With Bumpa, managing a small business is simple; create a business website in minutes. It doesn’t end there; Bumpa provides you with a host of features for business management - generate invoices & receipts, manage your inventory, get business analytics, manage your orders and more!
Download the Bumpa app, sign up today and get started with growing your business both offline and online, effortlessly!
Let’s paint a picture that may be familiar to you.
You’ve finally gotten that fantastic small business idea that won’t break the bank, but may be a great way for you to start making some money, and you’re excited! You can now call yourself a budding entrepreneur and are ready to launch your business. To save cost, you’ve decided to start your business online first and create a business website where you can list your items, but everything is too expensive or you need to sit and drag and drop so many blocks to build your online store. You eventually get tired and let it go.
Are you this person?
Here’s another one you may understand all too well.
You’re running your small-scale business already, but you’re struggling with important things like inventory management, order processing and fulfilment, understanding your business performance, and overall, managing your business with ease.
If you have any of these problems, then Bumpa is the perfect solution for you. But your next question will probably be ‘how?’
You can use the Bumpa to do so many things for your business; set up a fully functional e-commerce online store for sales with multiple payment gateways and an easy checkout process in minutes, send invoices and receipts to your customers, record daily sales from multiple channels, manage inventory and orders easily, get daily, weekly and monthly analysis for business performance from a single dashboard, and a lot more.
But we’ll get into them in detail now. Here’s your ultimate guide for small business management with the Bumpa app.
How does the Bumpa App Work?


When you download the Bumpa app and sign up, you instantly get an e-commerce platform for you to list your products and start selling online with a lot of ease. Think about it as getting a website for your business without having to write any code; this happens immediately after signing up. And that’s only just the beginning.
Unlike online selling platforms, sites and marketplaces where you can just list your products in a sea of millions of other products, Bumpa provides you with the tools you need to build, market and manage your business online and offline. You own your online store solely and can list products and market them to your customers, along with other tools for inventory & order management, and more.
But it doesn’t end there. In this article, we’ll break down what you can use the Bumpa app to do, and how you can use it to manage your business.
How to Start Using the Bumpa App
You can start using the Bumpa app at any stage of your business journey, whether you’re just starting your small-scale business, or you’re already in the thick of things and need to start organising your processes better.
Here’s a familiar question, and one you may have yourself.
Is the Bumpa app free?
You can start with a 14-day free trial that offers you unlimited access to amazing Bumpa features, after which you will be required to pay a subscription fee for any of the Bumpa plans.
How to Create a Store on Bumpa:

Sign up with the accurate information for your business. (This will be featured in your store name and website URL.)
Add your products and details about them.
Share your link and start selling.
You can also set up your Bumpa web app (to access your Bumpa store via a browser) by signing in with your login details.
Here’s a step-by-step guide to help you upload products.
You can also create a custom domain for your website to carry your business name with the .com.ng, ng and other types of extensions instead of the bumpa.shop extension that is auto-created for your website, and you select from different themes to customise your website. These are available with an upgrade.
But this is the most basic thing you can do with the Bumpa app. As I mentioned earlier, the Bumpa app helps you manage your business, end-to-end. Here’s a breakdown of some of the most important things you can do for your business with the app. You can click on any of the links below to skip to a particular segment.
1. How to Manage Your Inventory with the Bumpa App

Managing your inventory is a core part of your processes as a business. It’s important to track what you’re selling, where you’re selling it, how often you’re selling it and more. The Bumpa app solves this perfectly.
You can upload your products, and add variations, sizes, colors, quantity, weight and other relevant information about your stock.
You can choose what to publish on the website.
You can bulk-edit items in your inventory.
You can see product history to see when items were added, removed, edited, sold out and more.
You get notifications when you’re running low on stock.
You can manage your inventory across multiple locations where you have stores, and multiple channels where you sell.
2. How to Record Daily Sales with the Bumpa App

It is important to record every sale you make, and writing in a book will just not be enough anymore. On the Bumpa app, you can record sales from multiple channels where you sell like your Bumpa website, Jumia, Jiji, Konga, Facebook, Instagram, your physical store, etc. It also helps you track and manage orders properly, which we’ll break down in the next segment.
How to use the Bumpa app to record orders daily:
Open your app and in the menu tray at the bottom of the page, select ‘orders’.
Click on the + button at the top right corner of the page.
Fill out the necessary information for the order like order date, customer, sales channel the product and the payment status.
You can see all your orders on the Orders page, including your pending and completed orders.
Note: When an order is placed on your Bumpa website, it is automatically recorded on your app! You can also share a recorded order directly with your customers through the app with the share order feature, which automatically creates a payment link for the customer so that they do not need to visit your website.
3. How to Manage Your Orders with the Bumpa App

Managing orders online or offline can be tricky if you’re doing everything manually. Imagine a scenario where you run a sale and get a large influx of customers, some of them new, all of them coming from different channels. If you don’t manage these orders properly, you run the risk of delivering the wrong items to people, not fulfilling orders on time or at all, and losing customers' trust, both old and new.
You can hedge against all of these by taking proper advantage of the Bumpa app to keep track of customer orders. When you record your orders, you can:
Track the status of each order.
Process orders as they come in.
Automatically update your customers via email on the status of each order as you update the status.
Record the sales channels each of your orders come from.
Automatically update your inventory with each recorded order.
Each recorded order comes with other benefits like being able to request payment which automatically sends an SMS to your customer with a payment link, saving customers’ details, and generating invoices and receipts, which we’ll break down in the next segment.
4. How to Generate Invoices & Receipts with the Bumpa App

One of the mundane tasks of running a business is having to create invoices and receipts for every single customer. It’s important, so it has to be done. Having things like that also helps you protect your business against chargeback fraud. But you can reduce time for this task from however long it takes, to literal seconds.
How to use the Bumpa app to send invoices and receipts:
After creating an order:
In the orders menu, select the specific order you want to generate an invoice or receipt for.
At the bottom of the screen, click on the ‘Send Invoice’ button. This appears if the order is unpaid. Alternatively, choose the ‘Send receipt’ button if the order has been paid for.
Select the medium you want to send the invoice to e.g., email, WhatsApp, etc.
Send.
5. How to Use Discounts & Coupons on the Bumpa App

Customers love discounts and coupons, and it’s become a huge marketing strategy for bringing in new customers over time. Running a sale is already a lot of work; you have to make sure inventory is ready, orders are processed properly and customers are happy. Having to sit down to manually apply a discount or coupon is a lot of work, and using the Bumpa discount & coupon generator can take that work away.
How to create a discount or coupon:
Open your app and in the menu tray at the bottom of the page, select ‘More’.
Select Discounts & Coupons.
After selecting either discounts or coupons, click on ‘Create discount’ or ‘Create coupon’.
Fill out the information necessary like discount type, validity date, etc.
Click on ‘Create discount’ or ‘Create coupon’.
6. How to Record & Save Customer Information with the Bumpa App
Recording customer information helps you remarket to your customers via email and SMS campaigns, which is a great way to reduce acquisition costs and increase revenue. Another interesting thing about saving customer information is that you can lose your social media accounts anytime, and saving customer data helps you reach your most loyal audience to find you again.
How to save customer information:
Your customer’s information is saved every time you record an order on the Bumpa app, either automatically by using your Bumpa website, or when you manually record an order and share the order with them, so that they can fill in their details.
7. How to Use the Bumpa App to Send Email & SMS Campaigns

Many email marketing practices increase sales, and small businesses have started to embrace this marketing strategy along with SMS for retention purposes. These channels are a great way to share new products, discounts and deals, or just keep in touch with your customers.
The Bumpa app helps you create simple segments in your customer list, to help retargeting easier. Now you can speak to your customers via email and SMS, telling them exactly what they want to hear.
How to Create & Send Email & SMS Campaigns with the Bumpa app:
On the app, select Campaigns. (If you’re on the mobile app, navigate to Customers > Campaigns)
Select campaign type i.e., email or SMS.
Write up your content.
Send!
8. How to Track Business Performance with the Bumpa app

Understanding how your business is performing gives you an upper hand; you know what you need to improve on, and where you’re doing great. And it doesn’t matter if you’re just starting. Getting the right business data and insights will help your business in the long run.
The Bumpa app provides you with data on sales, products and customers. You can see information like your best sales channels, your best-performing products, store visits, new and returning customers, and so much more!
To get accurate data for your business, it is important to record every order you get on your Bumpa app!
And there’s more the app does…
The Bumpa app also has other features like an expense tracker to help you track and organise your business expenses, a staff management feature for adding and assigning roles to staff, connected apps like Instagram to help you close sales faster, and Shipbubble to make deliveries and order fulfilment easier!
Conclusion
Managing your business may seem like a lot with everything you have to do all at once, but it doesn’t have to be. With the right tool, it can be a breeze. You can set up your Bumpa app in minutes and use this guide to learn how to navigate the app quickly, if you’re already a Bumpa user, you can find more ways to use the app now than you’re already doing!
Welcome to the tech side of running a business!
Subscribe to our Blog
If you love tips & content like this that will help with your small business marketing and growth, then you’ll be excited to know we have more! We could always send you notifications when they are published if you share your email with us. We promise to not be a bother, and you can always unsubscribe anytime!
Want to Learn More about Bumpa & How to Grow your Business with it?
You can sign up to Bumpa in 5 seconds as a small business owner and let us begin the journey of growing your business with you!
Related Articles
View Related Articles Here
Features
How to Set Up Facebook Pixel on Bumpa | Step-by-Step Guide

Features
New on Bumpa: The July Updates That Make Running Your Business Easier

Features
Create Emails That Drive Sales with Bumpa's Sales Email Template

Features
June Bumpa Product Update: Here's what's new!

Tips
8 Things To Do Before You Launch Your Online Store In 2026

Tips
10 Ways to Get more Customers & Increase Sales for your Business

Tips
Top 5 Online Selling Platforms & Sites in Nigeria (2026 Guide)

Tips
How to Optimise your Bumpa Website for more Visibility on Google in 2026!

Entrepreneurship
How To Start A Bag & Accessories Business In Nigeria In 2026

Tips
When to Upgrade Your Bumpa Plan And How to Know You're Ready

Entrepreneurship
How to Track Profit for Your Business in Nigeria in 2026

Entrepreneurship
10 Signs Your Business Needs Better Structure and Organization In 2026

Tips
How to Choose the Right Payment Options for Your Customers in 2026

Entrepreneurship
Bumpa vs WooCommerce: Is "Free and Powerful" Actually Free for Nigerian and Kenyan Businesses?

Entrepreneurship
Bumpa vs Shopify: Which Platform Actually Works Best For African Businesses?

Features
How to Improve SEO for Your Bumpa Website in 14 Steps

Features
Is the Bumpa App Free? (2026 Update: What’s Free, What’s Paid & What You Get)

Entrepreneurship
How to Use Social Media to Drive Sales to Your Bumpa Store In 2026

Entrepreneurship
25 Small Business Ideas in Kenya with Low Capital (2026 Guide)

Features
Every Physical Store You Add on your Bumpa Account Now Has Its Own Terminal Account. Here's Why It Matters

Features
Grow Your Business Faster with Loans: Say Hello to Bumpa Capital!

Features
How to Stop Staff Theft in Your DMs and Your Physical Store Using Bumpa

Tips
Business Name Ideas - How to Generate One + 42 Examples

Entrepreneurship
Bumpa vs Wix: A Guide for Nigerian Business Owners

Entrepreneurship
Bumpa vs Paystack Storefront: Which Is Right for Your Business?

Entrepreneurship
Bumpa vs Flutterwave Store: What Nigerian Sellers Actually Need to Know

Entrepreneurship
7 Marketing Tools You Can Use on Bumpa To 5x Sales. (Free & Paid 2026)

Spotlight
From a Mom's Shop Floor to 10K Orders: How Harjoke Fabrics Automated Sales with Bumpa

Features
Bumpa Wallet Is Here: A Faster Way to Get Paid Instantly, Grow Your Money & Stay in Control

Spotlight
For our One of One, Teejay…
Entrepreneurship
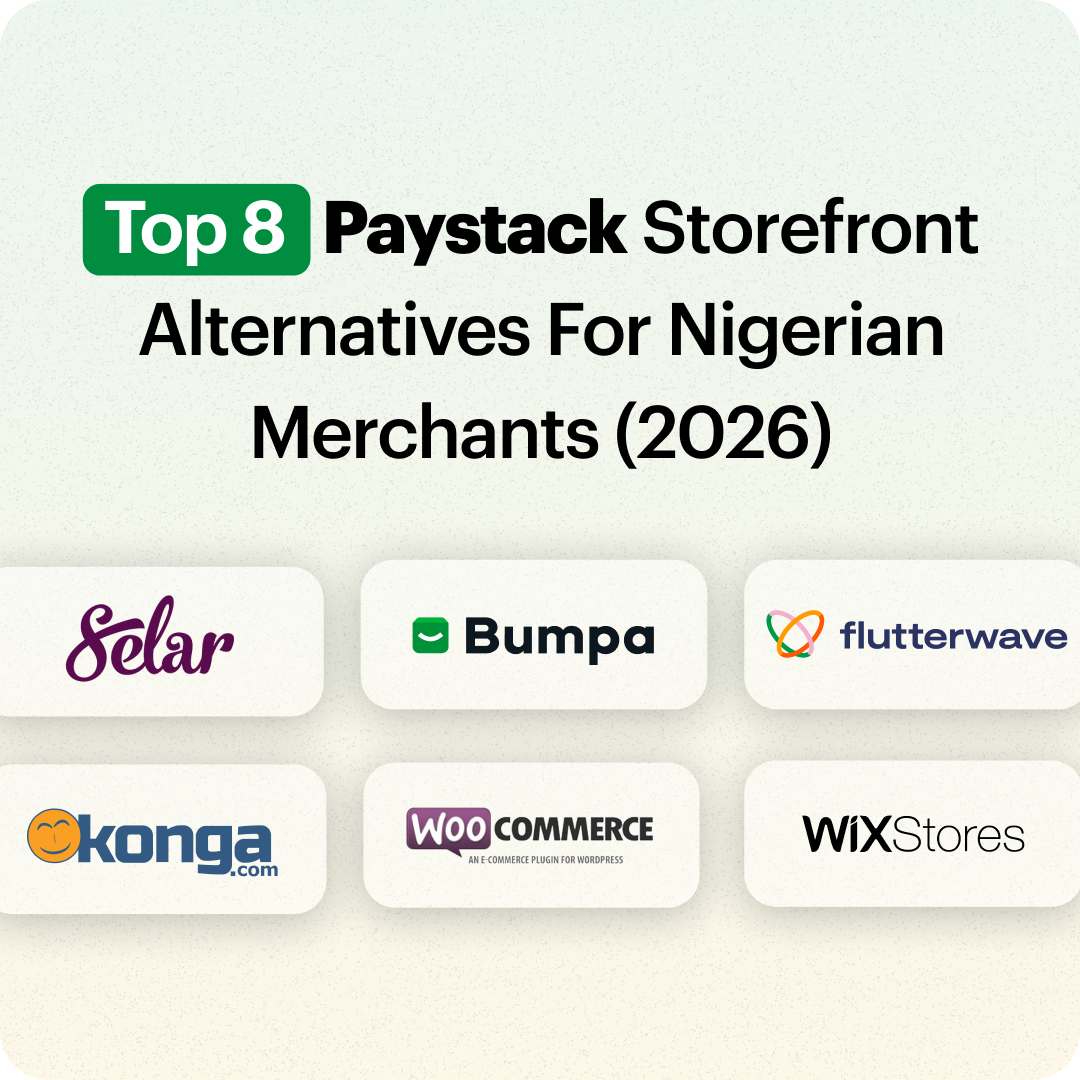
8 Best Paystack Storefront Alternatives Nigeria (2026)

Sales
How to Start an Online Business in Kenya (2026 Complete Guide)

Features
Bumpa POS: A Simple Point of Sale System for Businesses in Nigeria

Entrepreneurship
How Bumpa Helps Business Owners Adapt To Nigeria’s New Tax Laws in 2026

Sales
5 Reasons Why Your Business Isn't Making Money (And How To Fix It)

Features
Selling Internationally: Start Collecting Foreign Payments with Bumpa’s Multi-currency Feature!

Features
How to Get Started on Bumpa: An Onboarding Guide.

Tips
10 Small Business Ideas you can start with 20,000 in Nigeria in 2026
Tips
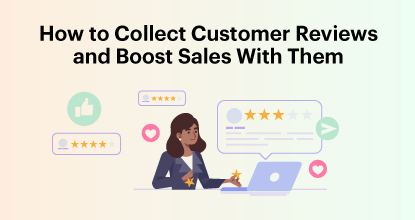
How to Collect Customer Reviews and Boost Sales With Them In 2026

Tips
How to File CAC Annual Returns Online in 2026 as a Business Owner

Entrepreneurship
Happening Live: 30 Days of Bumpa with Kelvin! (Plus 3M Up for Grabs)!
Features
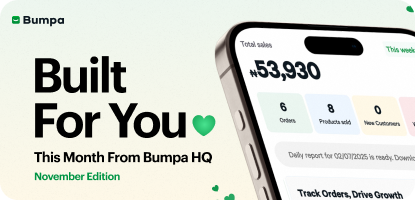
What’s New This Month for Your Business (November 2025)

Entrepreneurship
Share Your Story, Win ₦500,000: Bumpa Business Story 2025
Features
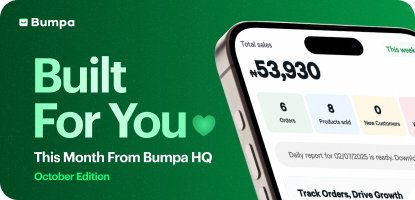
Bumpa Product Updates: What’s New This Month for Your Business (October 2025)
Features
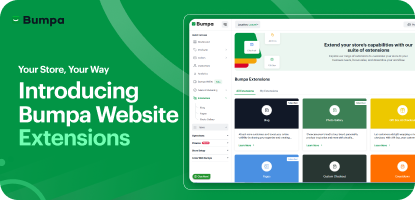
Your Store, Your Way: Introducing Bumpa Website Extensions
Tips
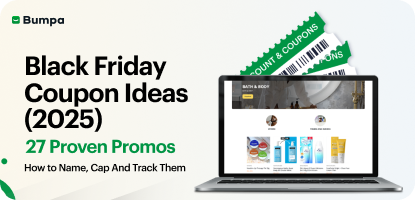
Black Friday Coupon Code Ideas (2025): 27 Proven Promos + How to Name, Cap, and Track Them

Communities
"We Don't Do Impossible" - Celebrating CX Week at Bumpa
Tips
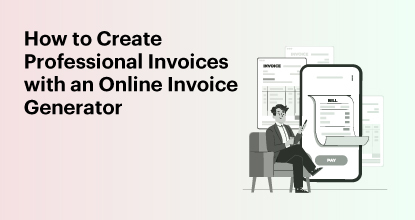
How to Create Professional Invoices for Small Businesses with an Online Invoice Generator
Tips
How to Create & Start an Online Store in Nigeria in 2024

Features
How to Use the Bumpa App: The Ultimate Guide For Small Business Management
Features
Recover More Sales With Bumpa’s New Automated Abandoned Order Reminders
Tips
Black Friday 2025: The Business Guide to Deals That Triple Your Sales

Spotlight
Ronbee Signature: The Entrepreneur who Ditched the Idea of Being A Professor to Become A Jewelry & Perfume Connoisseur.
Spotlight
How Melira Fits Started From A One-Bed Apartment to Doing Up To 15 Million in Revenue.
Features
Get Amazon-Level Delivery for your Business with Bumpa’s New Shipping Automation

Tips
How Businesses (Small and Big) Are Making Big Money with AI in 2025! (Here's How)

Tips
How to Make Money on the Internet in 2025 (12 Easy E-commerce Hustles That Actually Pay)

Tips
These 7 Business Finance Mistakes May Cost You Millions !
Tips
6 Bumpa Websites Designed With New Themes to Inspire Your Online Store
Features
The Ultimate Guide to Managing Your Multiple Stores for Your Business with Bumpa

Features
How to Set Up Google Analytics for Your Bumpa Website

Tips
These 5 Urgent Fixes Will Save Your Dying Online Store!

Entrepreneurship
Be Part of Something Big: Join Our Partners' Program To Help Businesses Go Digital with Bumpa!
Tips
How to Write Product Descriptions that Convert Online Shoppers + Examples & Template
Features
Introducing Brand New Professional Website Themes & Templates For Your Bumpa Store!

Entrepreneurship
ShowUp #2: Love is in the Air! (And So Are Sales)

Tips
How to Turn your Products into Irresistible Valentine's Day Gifts

Features
How to Add Shipping Fees on Your Bumpa App
Features
How does Online Payment Work on Bumpa?

Entrepreneurship
The Biggest Business Growth Event (BBGW) of 2025 Is Here!

Tips
Top 8 Trending Products to Launch a Successful Online Business in 2025

Tips
4 Secret Growth Strategies Smart Businesses Are Stealing in 2025

Entrepreneurship
ShowUp #1: Thank You for 2024 and Welcome to 2025! 🎉
Features
What to Know about Bumpa’s KYC Verification & Fraud Prevention

Entrepreneurship
Shape Your 2025: 50 Motivational and Inspirational Quotes Every Business Owner Needs

TipsFeatures
25 Marketing Strategies for Increasing Sales to Implement on Day One of 2025!

Entrepreneurship
The Season of Sales - Lessons, Tips & Giveaways

EntrepreneurshipFeatures
A Good Time For Gifts: Celebrating Our Super Sellers with WiiCreate! 🎁

Entrepreneurship
How Lagos's Top Parfait Brand, Melony Pine Fruit Hub Manages Its Growing Success with Bumpa
Features
Bumpa's Invoice Generator 2.0: Now with Custom Notes & Upgraded Shipping Slips
Features
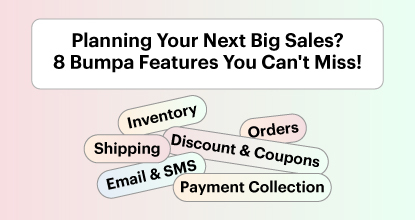
Planning Your Next Big Sales? 8 Bumpa Features You Can't Miss!
TipsFeatures
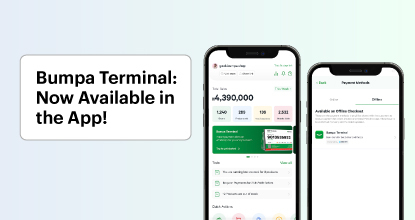
Bumpa Terminal: Now Available in the App!
Tips
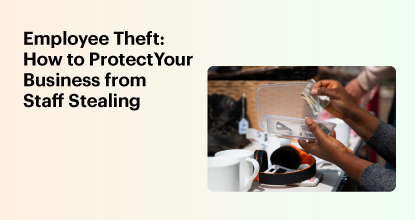
Employee Theft: How to Protect Your Business from Staff Stealing
Entrepreneurship
Black Friday's Coming - And So Are Big Changes! 🚀
Tips
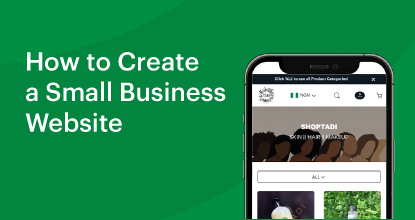
How to Create a Free Online Business Website for Your Small Business with No Code

Features
Sending Bulk SMS to Your Customers is Now Better On Bumpa!
Features
3 New & Powerful Bumpa Inventory Management Features Your Business Needs!

Tips
How to Start Selling Korean Skincare Products in Nigeria

Tips
10 Must-Do Things Before Black Friday to Ensure You Sell Out!

Tips
10 Tips for Creating Catchy Business Slogans & Taglines + 20 Ideas for Yours!

Sales
5 Must-Haves for a Successful Black Friday Sale

Entrepreneurship
Empower Your Business Journey with Bumpa Learning Sessions
Entrepreneurship
From Kelvin: Q4 - Time for The Final Push!

Tips
8 Ways to Make Your Business Social Media Page Stand Out!

Tips
How to Start a Jewelry Business Online in Nigeria
Entrepreneurship
From the CEO's Desk: I visited China to Support More Business Owners In August
Tips
How to Sell More to Your Customers with Coupon Codes on Bumpa
TipsFeatures
Bumpa’s Automated Order Processing System for Small and Large Scale Businesses.
Tips
6 Bumpa App Updates You’ll Love for Your Business

Tips